.jpeg) |
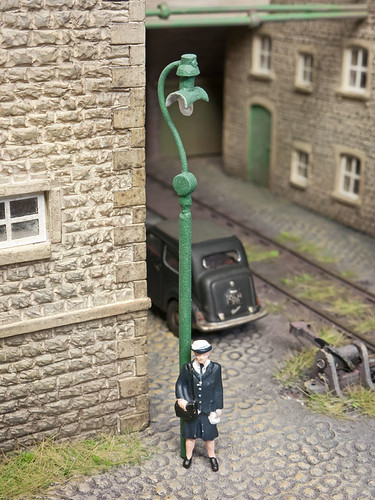
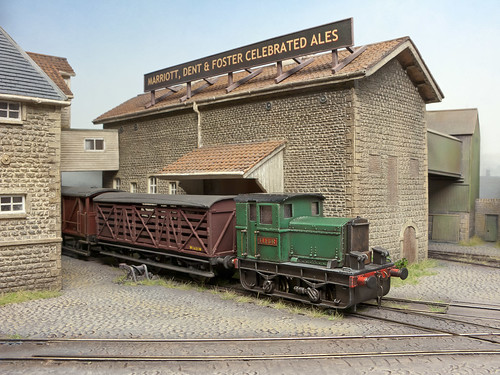
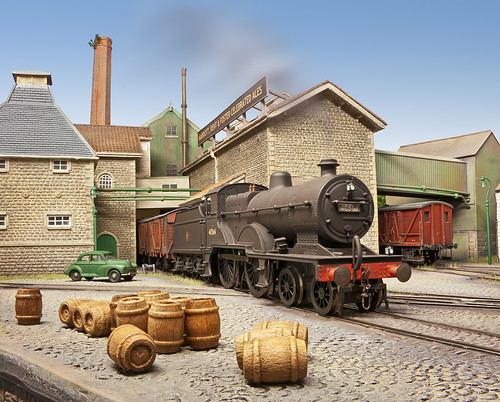
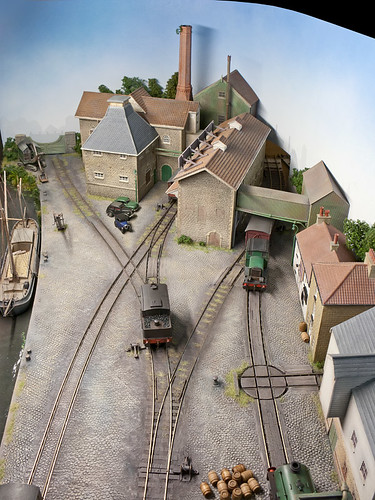
Note the fine dull ballast on the siding and yard in the forground.
This is very much a feature of railways from the steam era. Click photo to enlarge. |
*I originally created this post way back in 2011, here is an updated post to reflect more recent materials.
Why cinders?
We’re
not taking about the turn midnight, frogs and glass slippers here, but
the days when steam reigned supreme! Before central heating but when we
toasted crumpets in front of an open coal fire, coal was the backbone
fuel of Britain as well as the major mineral handled by the railways. As
a result of its extensive usage for powering and manufacturing things,
the bi-product was ash and cinders – literally millions of tons of the
stuff. Rather than waste it, one of the uses of this dusty plentiful
product was to ballast sidings and little used railway lines. In some
northern areas it was even used for ballasting mainlines where they had
an even more plentiful supply due to the extensive coal fired industry.
Many
steam era railway modellers ignore following the real world and tend to
ballast their sidings with granite chippings as seen on main running
lines. Some even include a ballast shoulder in railway yards which looks
and is totally wrong. Frequently this error can be observed on layouts
that utilise the finest scale and most accurately gauged track. I have a
hunch this is due to people copying other model railways rather than
observing pictures of the real thing, my other thought is that modellers
simply do not know how to generate the effect?
The
use of granite in sidings is only a feature modern times and as a rough
rule of thumb should only used to create the appearance of track that
has been laid or re-ballasted after the end of steam.
At
first the above appears simple to replicate, simply use some fine dust
like granular substance which isn’t illegal and spread it onto the track
and dribble diluted PVA over. Those who have tried this will know that
all that happens is that we end up with a mess as the glue forms dusty
balls that refuse to sink in however much or expensive the washing up
liquid is used to help break the surface tension.
Another
technique which is likely also to remove any outstanding cranial hair
is the use of plaster. Plaster can be used for big wide flat areas, but
as soon as it goes anywhere near rails, sleepers and chairs, it will
cling like molten ice cream does to a clean shirt better than barnacles
do to a sunken wreck off the Needles.
Do
not despair; Das Modelling Clay is our savour, with its Plasticine like
quality being ideal for packing down between sleepers to create that
distinctive smooth effect which is so removed from that of granite.
DAS
is are available from many model or craft shops, and is supplied in
brick sized in air tight packs. Once opened it will dry out and spoil,
so it’s a good idea to reseal it in some kitchen film after use. The
most common colours are white and terracotta, neither of which is right
unless one is using it for ballast the railway in a china clay works in
which case choose white. We address the colour later so do not worry at
this stage.
Application
is simple but does take a little time – ‘good things come to those who
wait’ as they say in that advert for a well known stout. The same can be
said for this.....
Firstly
paint your sleepers and rail sides then ballast to just under sleeper
height using your usual favoured paint and ballast; I favour sieved sand
because it’s nice and fine. Then drench in the time honoured way using
diluted PVA white glue and allow it to properly set.
Next
comes the fun bit (OK, just a little better than swimming in the
freezing sea in January); scoop or break off a tea spoon sized lump of
clay and using fingers and thumbs press down and spread it over the
existing ballast and between the sleepers and tracks working on 2 or 3
inches a time.
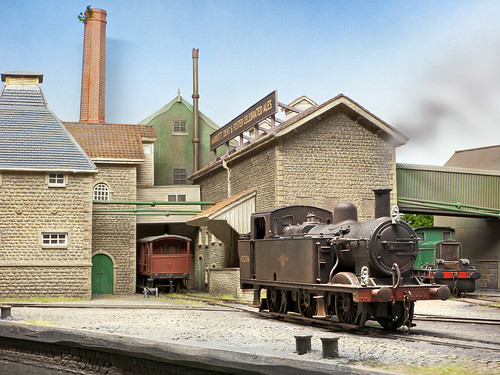
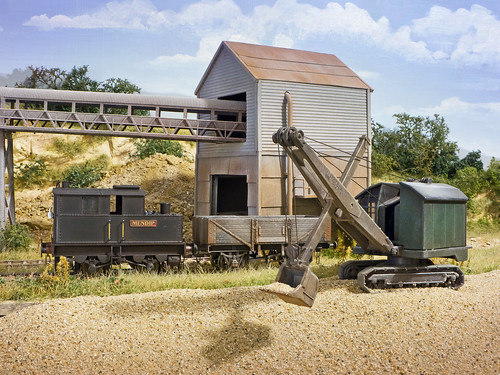
 |
| Click photo to enlarge. |
Once it’s fairly even, with a stiff brush (a 1 inch
decorators’ one will do or one of those cheap kiddies’ brushes) pack it
into place between the sleepers much like a dentist does when packing a
new filling, taking care to avoid getting clay onto the sides of the
rail and chairs. Repeat until your whole area is covered, I suggest
doing this is dribs and drabs to get a break and to appraise the
progress. When working on wider areas like between tracks or in a yard,
it is a good idea to paste on a thin layer of PVA to help the clay
adhere to the surface. As the clay dries it may lift or crack a little,
if so push it back into place with a thumbnail or back of a spoon.
Once
fully set, any outstanding cracks can be dealt with smearing in some
fresh clay or wetting the surface and smudging over with a thumb.Once
you’re satisfied with the result you’ll want to colour what you’ve done.
For this you can use your favoured medium of matt enamel, matt acrylic,
or my favourite – matt interior emulsion. I like matt emulsion because
it’s easy to get hold of from D-I-Y superstores with the loss of so many
model shops. No need to buy big tins, use the little match pots, there
are all sorts of dull earthy colours that are far more suited to our
uses than painting walls. I guess this is one positive bi-product of all
these faddy TV programmes where they transform bright cheery rooms into
dull and often gaudy caverns.
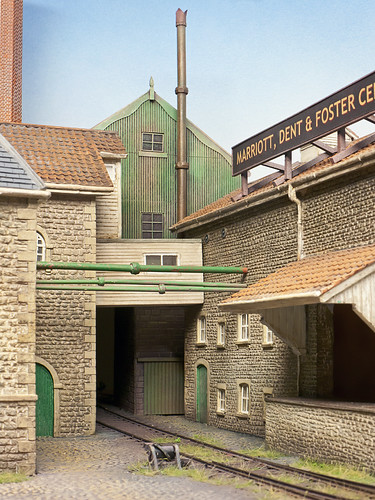
 |
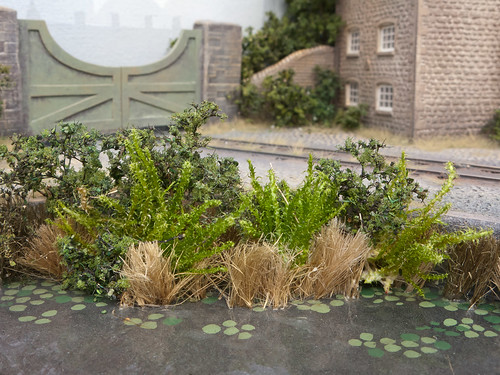
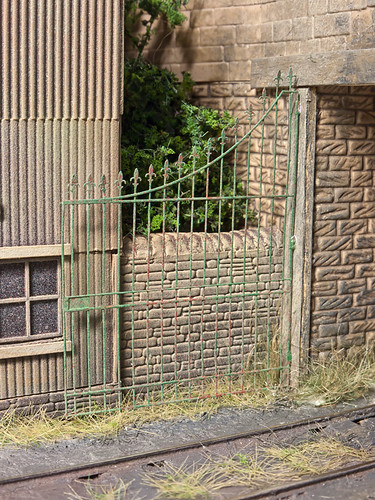
Adding a little static grass is a good touch.
Click photo to enlarge. |
What
colours you choose is up to you; I prefer to use paler grey and beige
tones, using the darker shades around the track, blending to lighten the
open areas. good touch once you’re happy with the colouring of the clay
and sleepers is to dry brush on some rust (not too red though) to
highlight the rails and chairs. Te use of pale shades not only helps the
sunny dusty effect often seen in summer, but also has the bonus of
making a layout look bigger – and that is never a bad thing.
This feature is from article I previously had published in
Model Rail - the leading magazine to show you 'how'.


.jpeg)